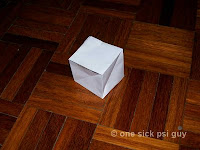
I remember seeing plans for those once in a book but I was too lazy to search for it so I did a Google search instead but came up nothing (surprisingly, Google failed me on this occasion ... or maybe I didn't know the terms I was looking for). Anyways, I decided to figure it out through trial and error and thus have come up with the following 'simplification' of the method Adam used in the episode. The template prints out onto a single sheet of paper and folds into a collapsible cube similar to the one on the show. It is best to do the sides of the box first by folding along the diagonals to create the layered spiral folds before connecting the base and top sides. (Click on template to view full size)

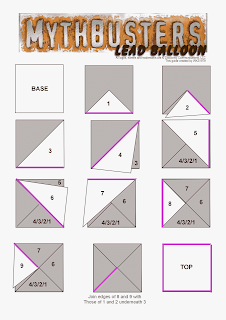
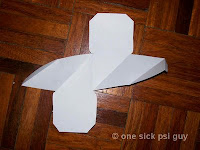
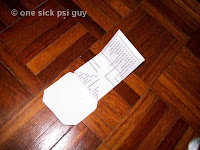
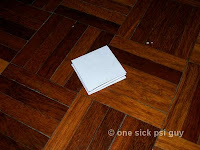
Cut along all the outer lines and fold accordingly into a cube. All remaining bold lines are valley folds whilst the dotted diagonals are mountain folds. Remaining steps are shown as pics below.For those interested in how Adam constructed his cube, the instructions are below. Basically he is forced to break the pieces into right angled triangles and hinge-ing them together with tape instead of folding a square of lead foil which would lead to tears. The difficult part comes from the second last step which is to join the top most layers with the bottom most ones to create the final side of the cube. In the guide, new pieces are shown as white whilst prior joints are greyed out and tape locations are shown in pink.
..... Show/hide full post





And almost 8 years later... you are my hero. My son *really* wanted to replicate Adam's design. I especially appreciate your simplified version. Thank you for posting this.
ReplyDelete